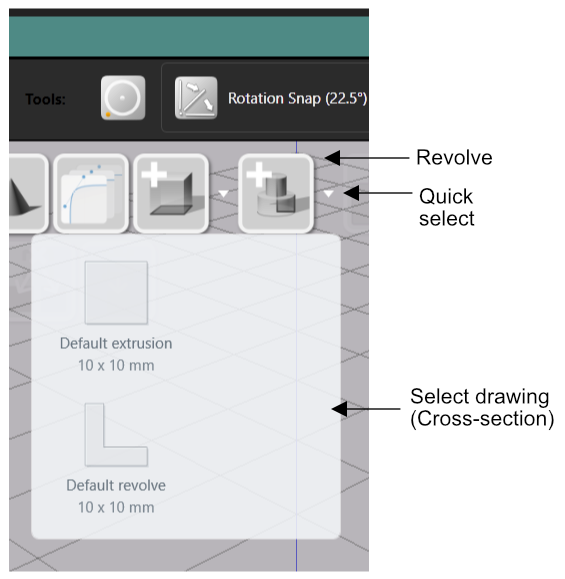
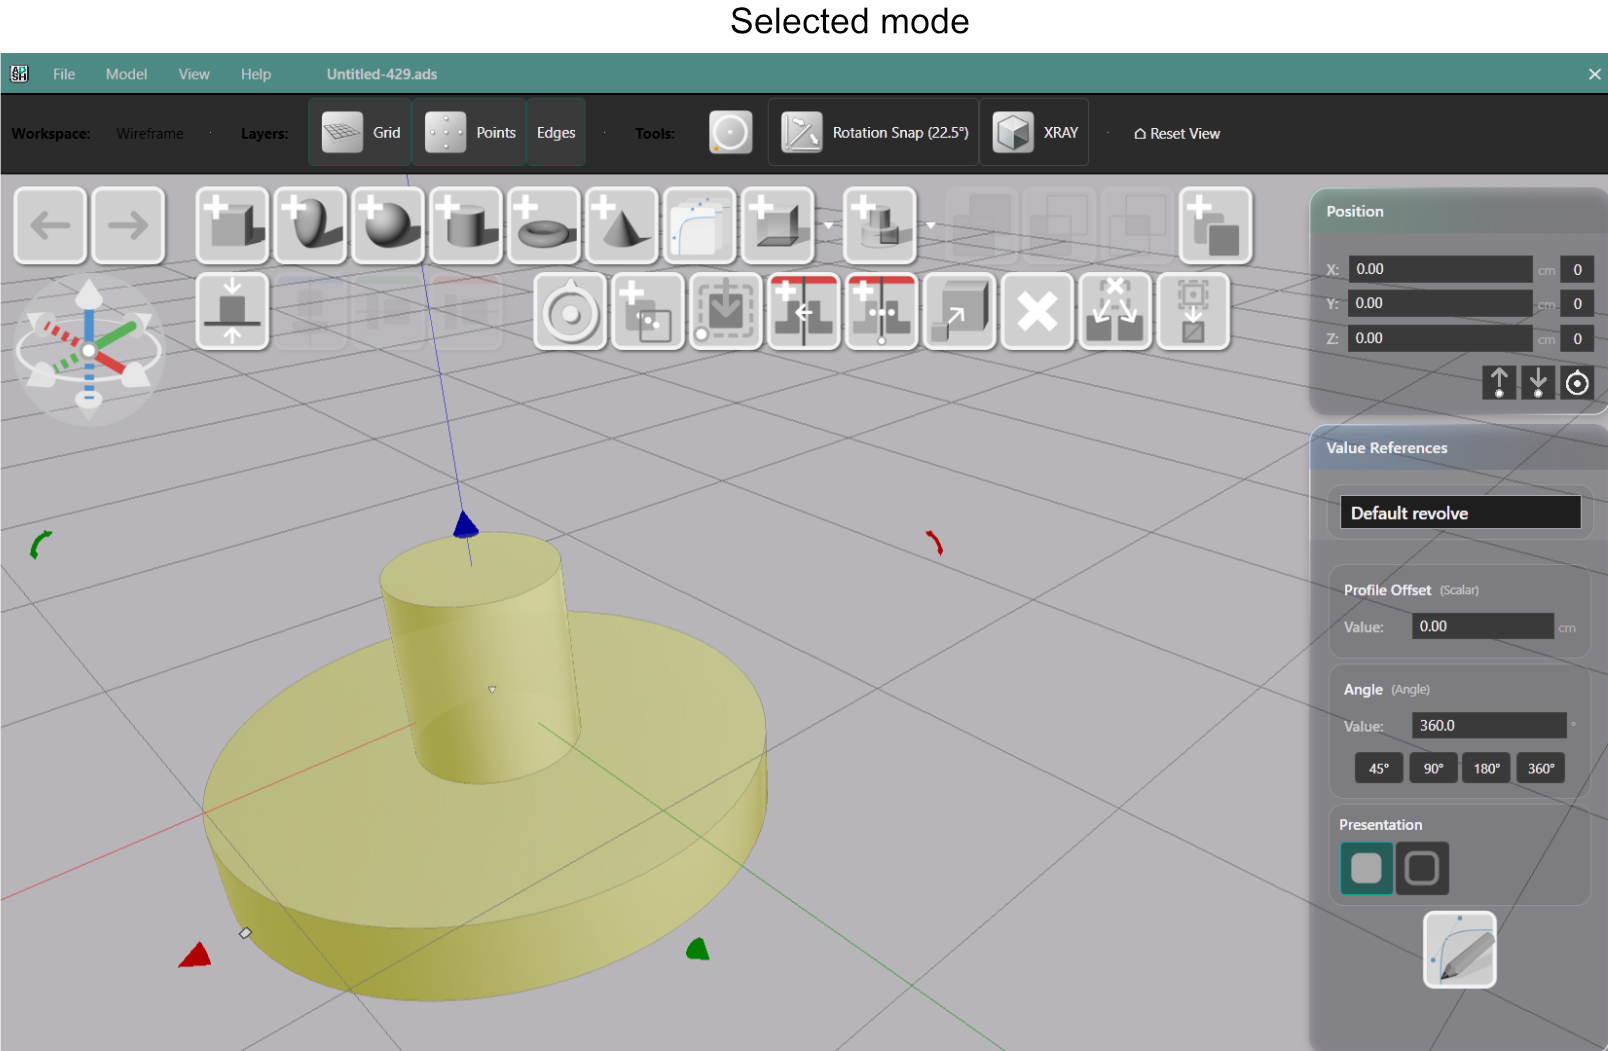
Drawing Area
How to edit the profile drawing for a revolve — the axis line, clipping, and positioning the cross-section.
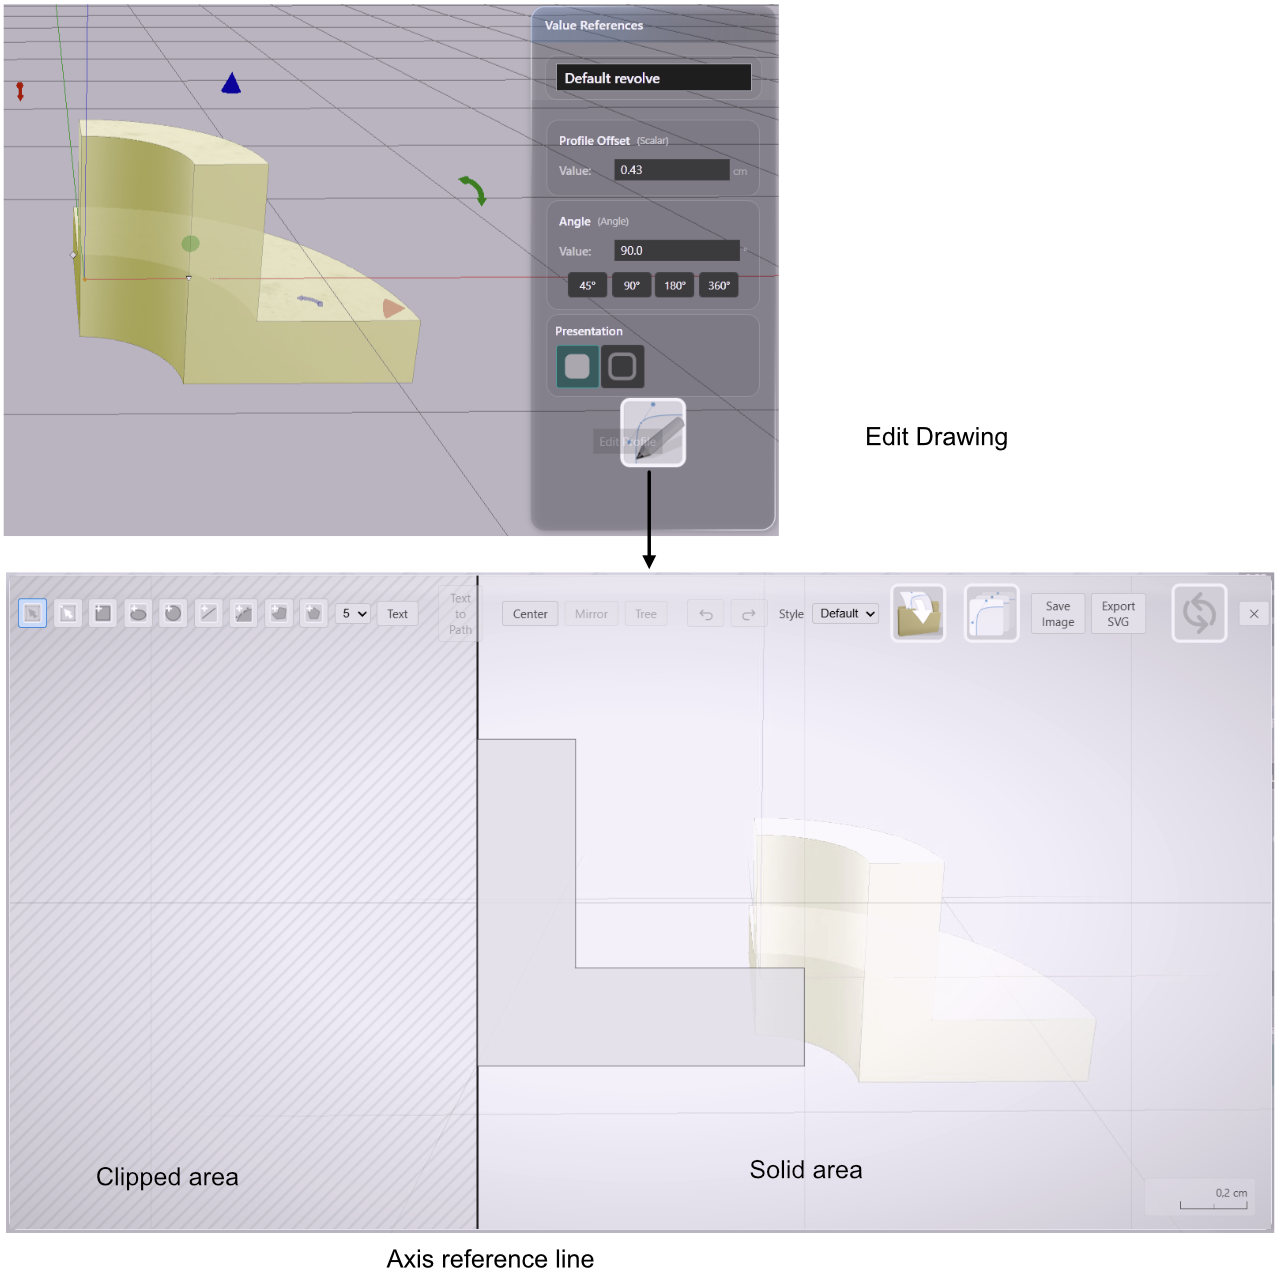
The Drawing Editor for a revolve works the same way as for extrusions, with one important addition: the rotation axis is visible as a dark vertical line in the canvas. That line is the center of your shape. Everything you draw to the right of it becomes part of the profile.
The Axis Line and Clipping Region
The dark vertical line marks where the revolution axis sits. The striped region to the left of the line is the clipping area — geometry there is cut away when the revolve is computed. Draw your profile to the right of the axis.
The striped area is still visible while editing so you can judge proximity to the axis. It only affects the final shape, not your drawing experience.
If you use Profile Offset, the clipping boundary shifts outward from the axis. The striped region shrinks to reflect the new effective center. See Profile Offset for details.
Opening the Drawing Editor
Select the revolve in the viewport. In the Value References panel, click Edit Drawing. The Drawing Editor opens with the current profile loaded and the axis line visible.
Close the Drawing Editor when you are done — the revolve updates immediately to reflect your changes.
Positioning the Profile
How close the profile sits to the axis determines the shape at the center of the solid. A profile that touches the axis produces a filled center. A profile that stops short of it produces a hollow center — a tube or ring.
For a solid bottle or vase, bring the profile all the way to the axis line at the top and bottom of the shape. For a wheel rim or ring, keep the profile away from the axis and use Profile Offset to control the gap.